The perfect BIAB manicure
A salon-worthy BIAB manicure can be easily created at home by applying the product in layers. The process is easy to follow when you follow the right steps. Discover below how to apply BIAB correctly for a strong, well-groomed and natural look.
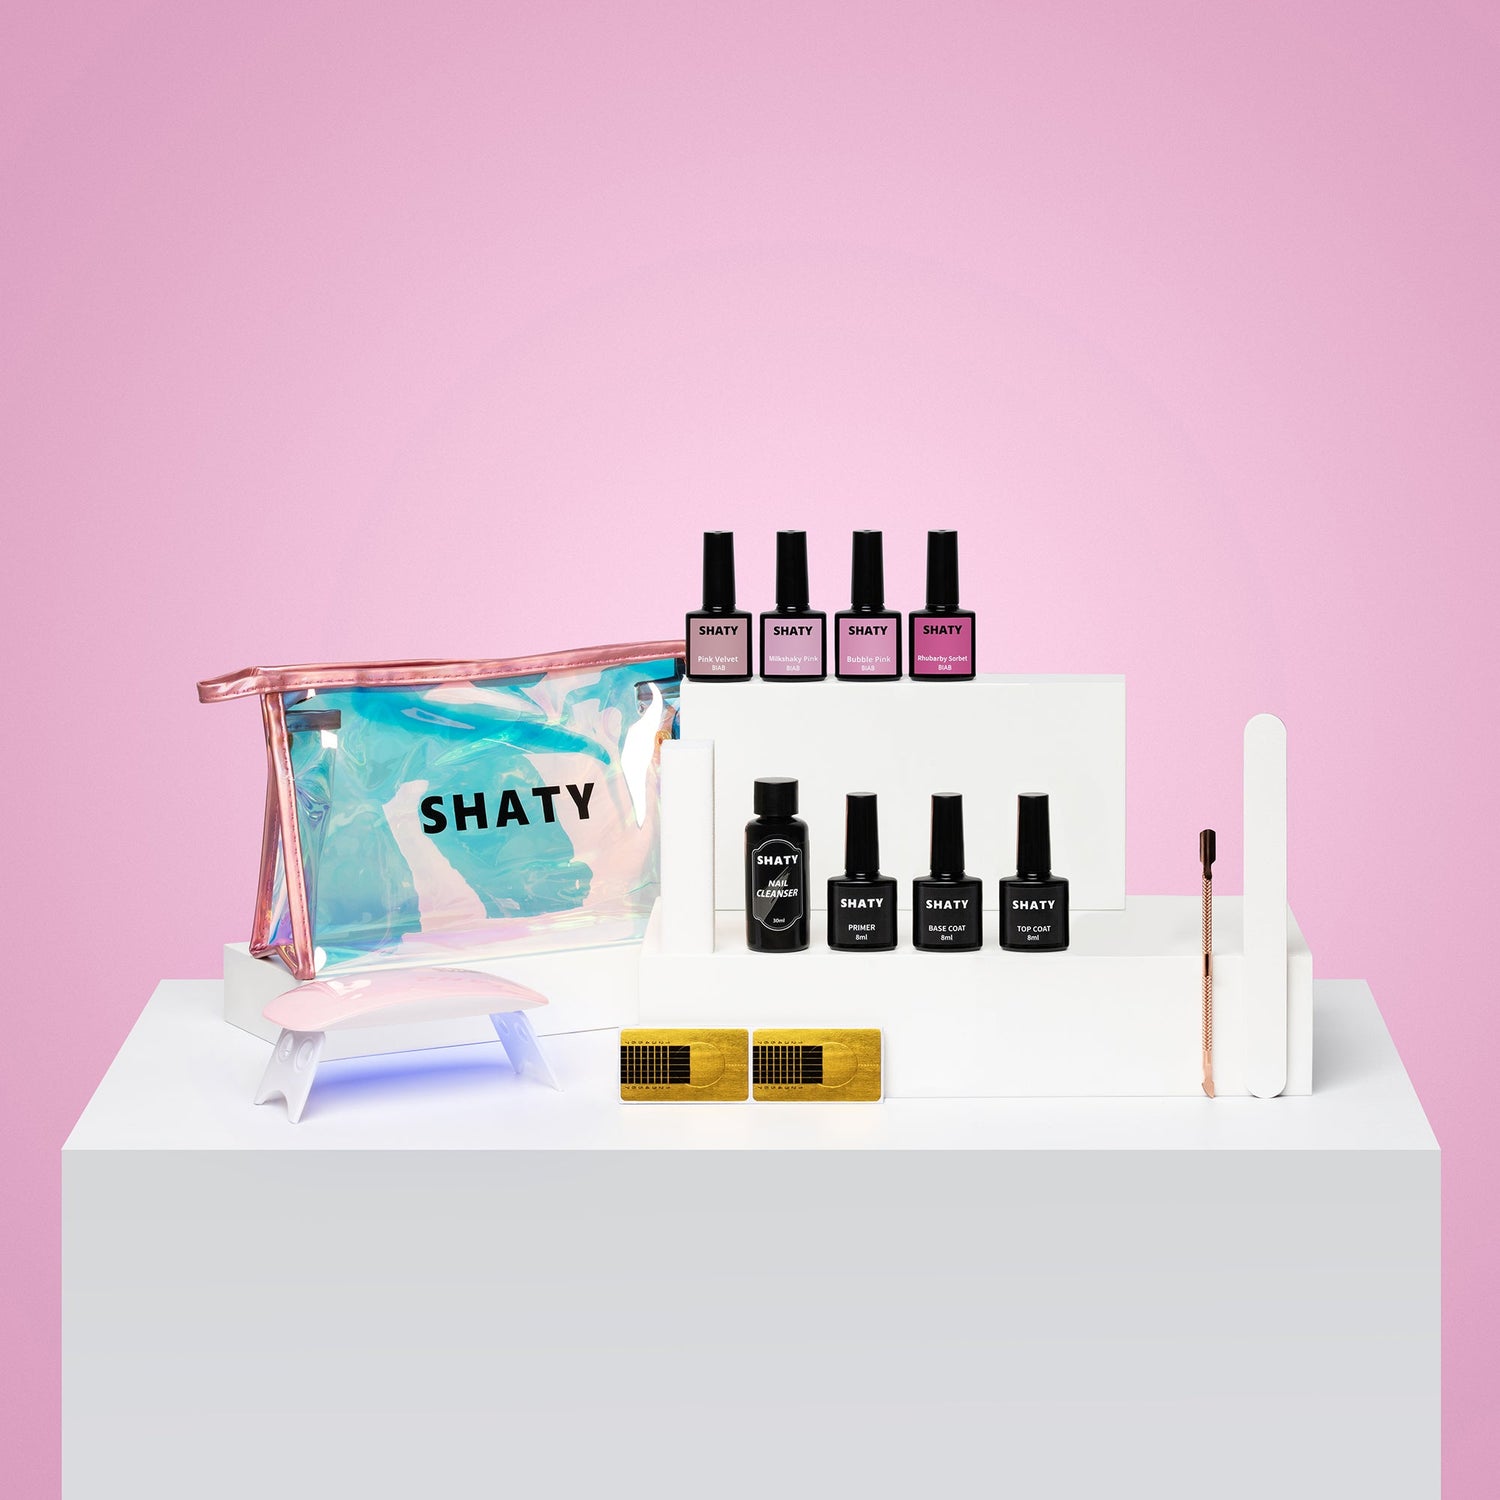
It is essential to prep your nails first. Learn how to optimally prepare your nails for applying BIAB. Everything you need for a professional BIAB manicure at home is listed below.
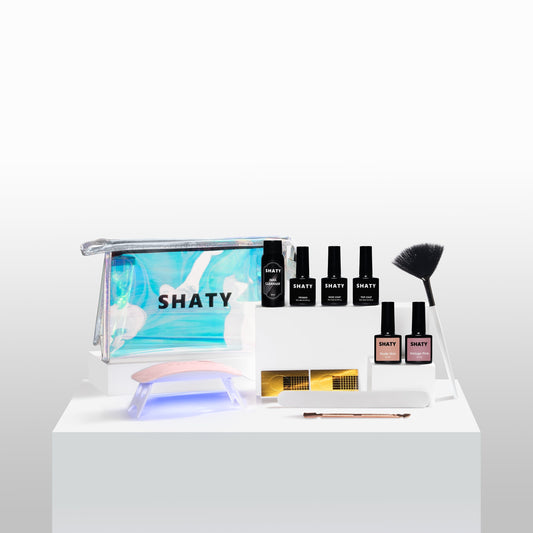
Want to get started right away? With our complete starter sets you have everything you need to apply BIAB and remove it correctly.
Apply BIAB in 4 steps
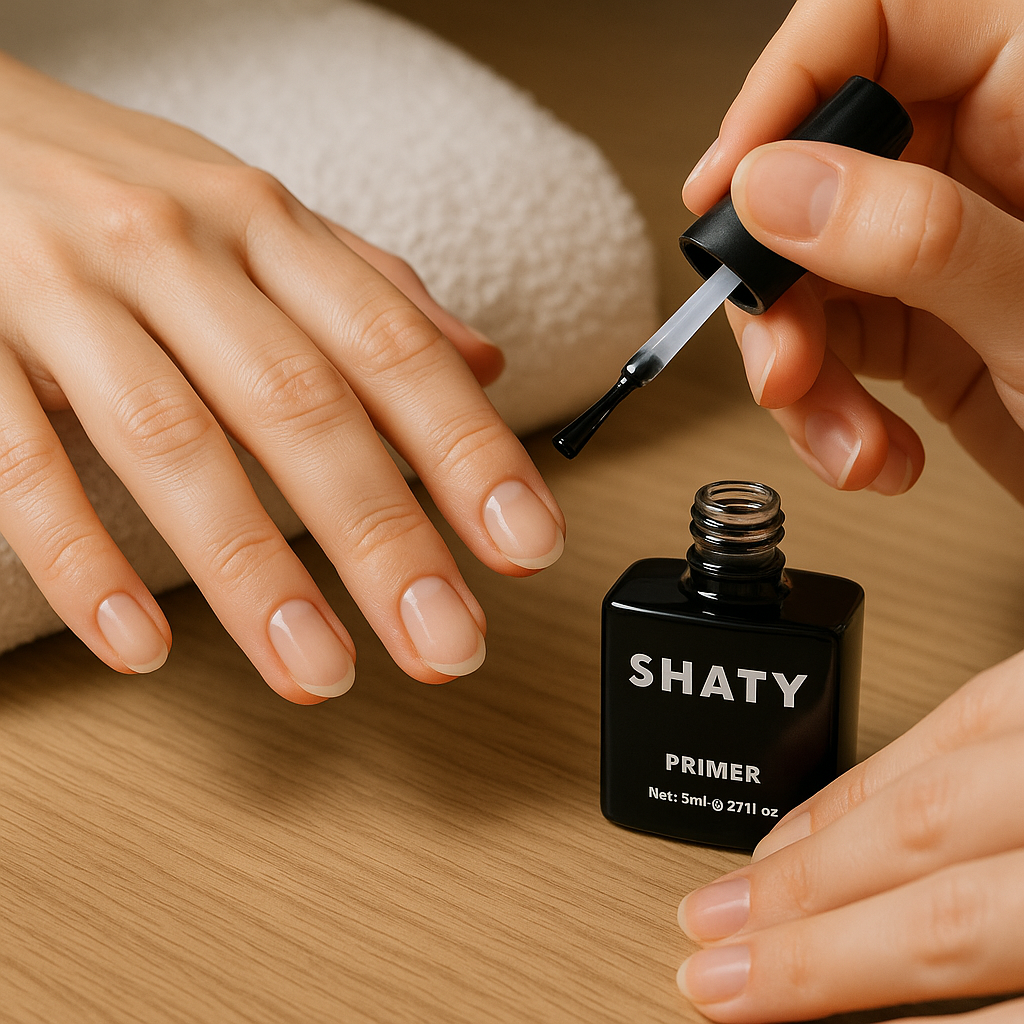
Step 1 Primer:
Apply a thin layer of primer to the natural nail after prepping (degreasing, roughening and removing dust). Let air dry, about 60 seconds. The primer promotes adhesion and prevents lifting.
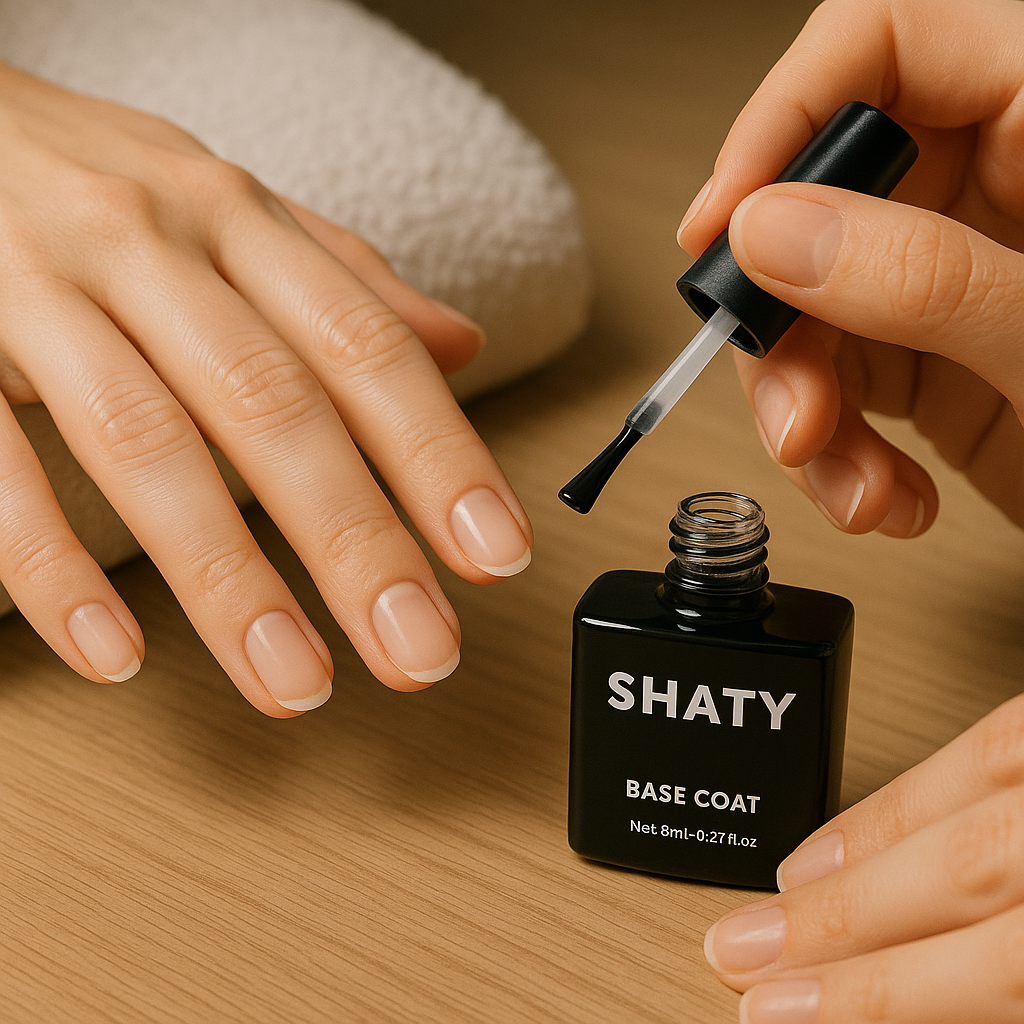
Step 2: Base Coat
Apply a thin layer of base coat without touching the cuticles. Cure for at least 60 seconds under the LED lamp. This layer provides a good base and prevents discoloration.
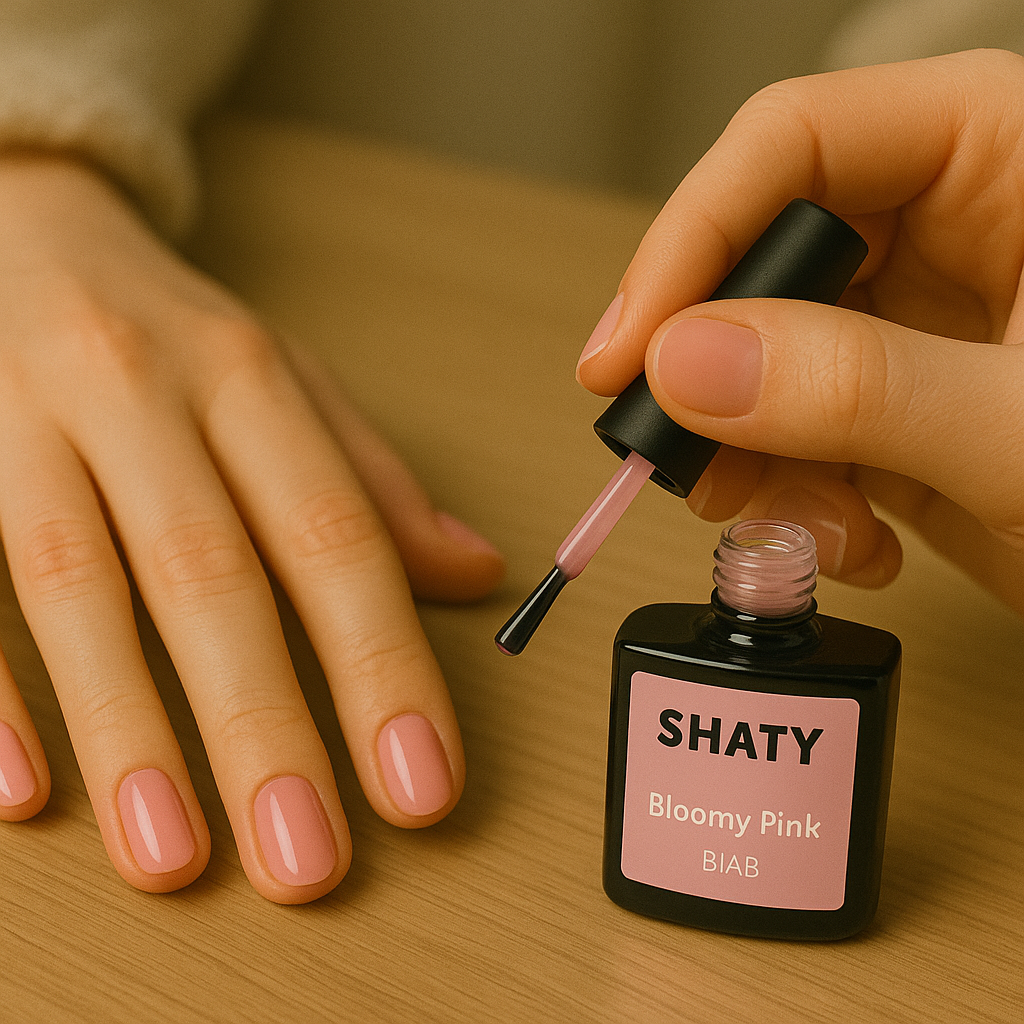
Step 3 BIAB:
Apply a thin layer of BIAB and cure for 60 seconds. Repeat with a second, fuller layer for strength and shape. A third layer is optional for extra reinforcement. Cure each layer separately for a minimum of 60 seconds.
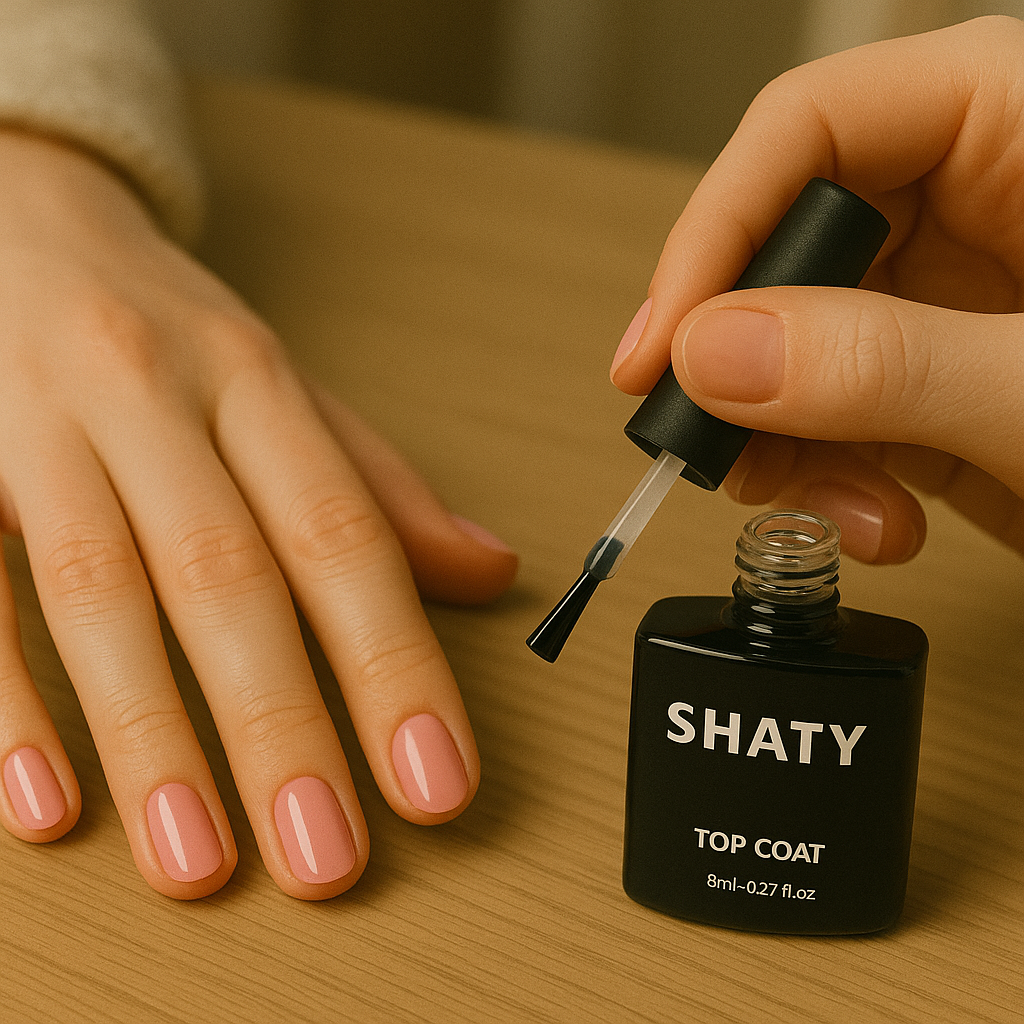
Step 4: Top Coat
Apply a thin layer of top coat for shine and protection. Cure for at least 60 seconds under the LED lamp. After curing, remove the sticky layer with a cleaner.
Shop the essentials
-
Starter Kit Compact
Regular price €34,95Regular priceUnit price per -
 Bespaar 37%
 -
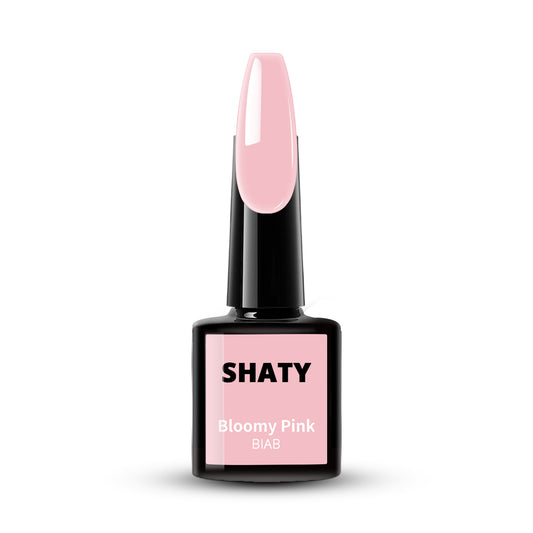
Bloomy Pink
Regular price €12,95Regular priceUnit price per -
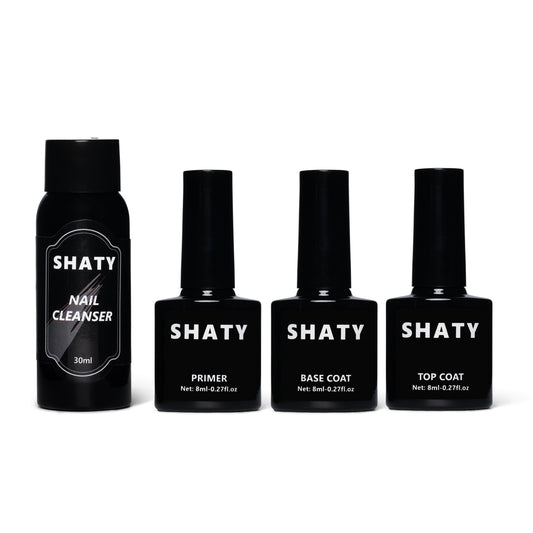
BIAB Essentials Set
Regular price €29,95Regular priceUnit price per